 To remove the ripped cervix, unscrew all 7 screws. Discard the silicone cervix, but keep both black plastic rings and all screws.
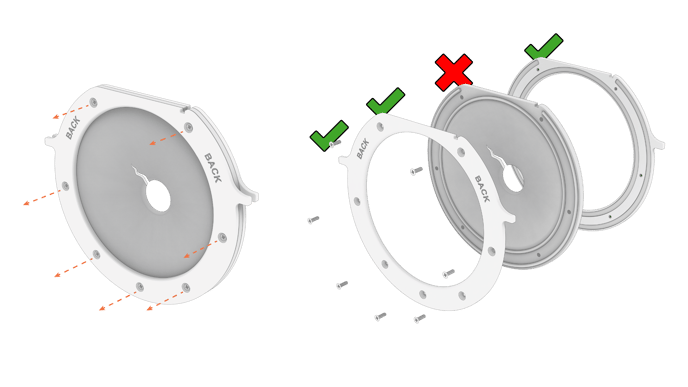
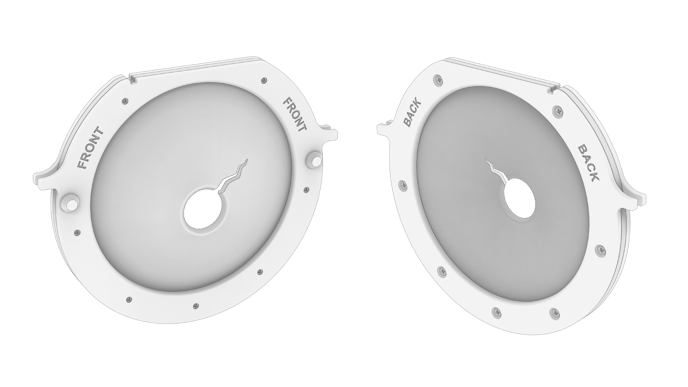
 Locate the ring labeled “FRONT”. Flip it over so the label is no longer visible.
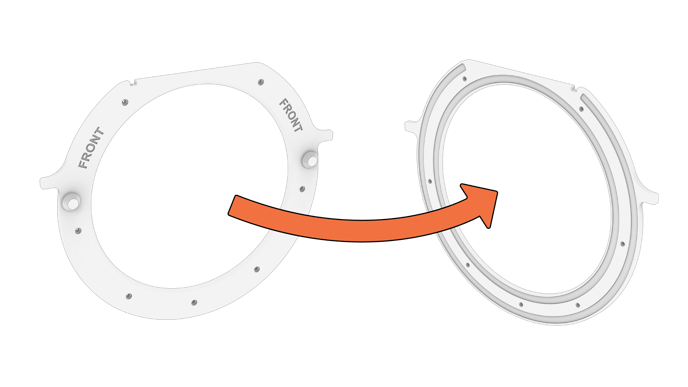 Orient the new silicone cervix so that the notch in the top corner is aligned with the notch on the front ring.
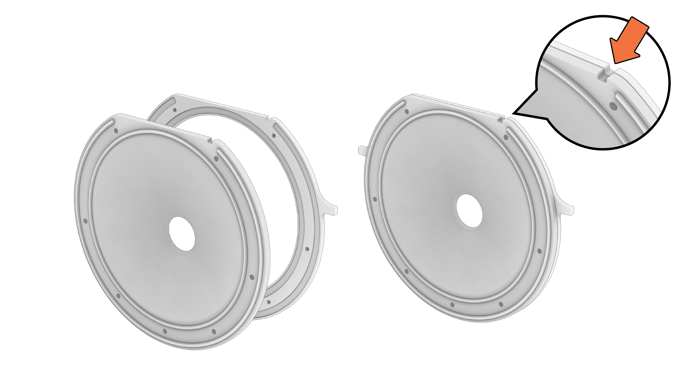 Orient the back ring so that the notch is aligned with both previous notches, and the “BACK” label is visible.
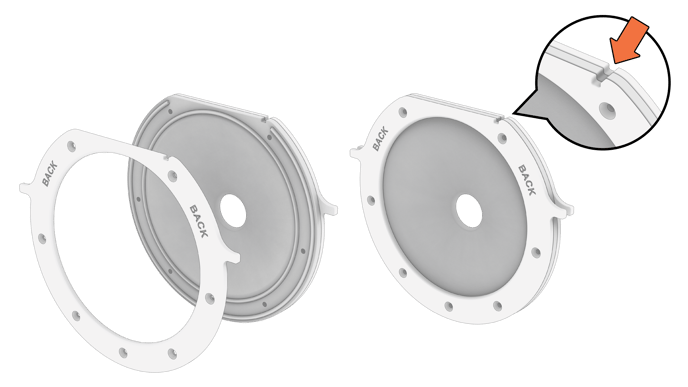 Replace all 7 screws. Do NOT fully tighten yet!
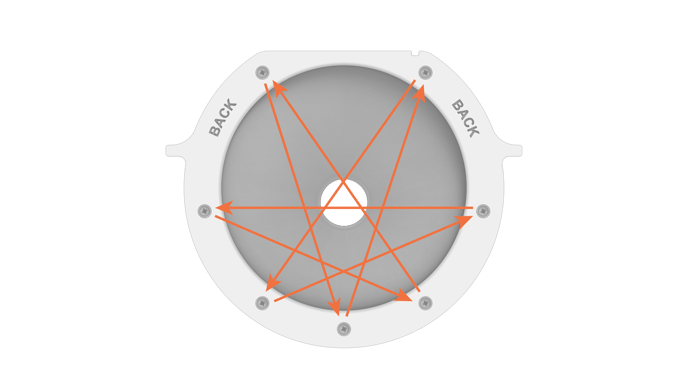
 Once all 7 screws have been started, tighten each screw gradually using a star pattern. When the screw can just barely be felt on the front side of the assembly, stop tightening.